DIY Farmstand: 3 Hour Build
My wife has been asking for a simple farmstand for a while so she and the kids have a place to sell their baked goods and crafts to our neighborhood without having to meet up somewhere or go to markets.
So, like any smart dad these days, I gave ChatGPT a basic farmstand rendering I found on Google and asked for a supplies list. Lazy of me? Maybe. But we had to get to church on time, so I ordered everything on Lowe’s website before church and picked it all up after church.
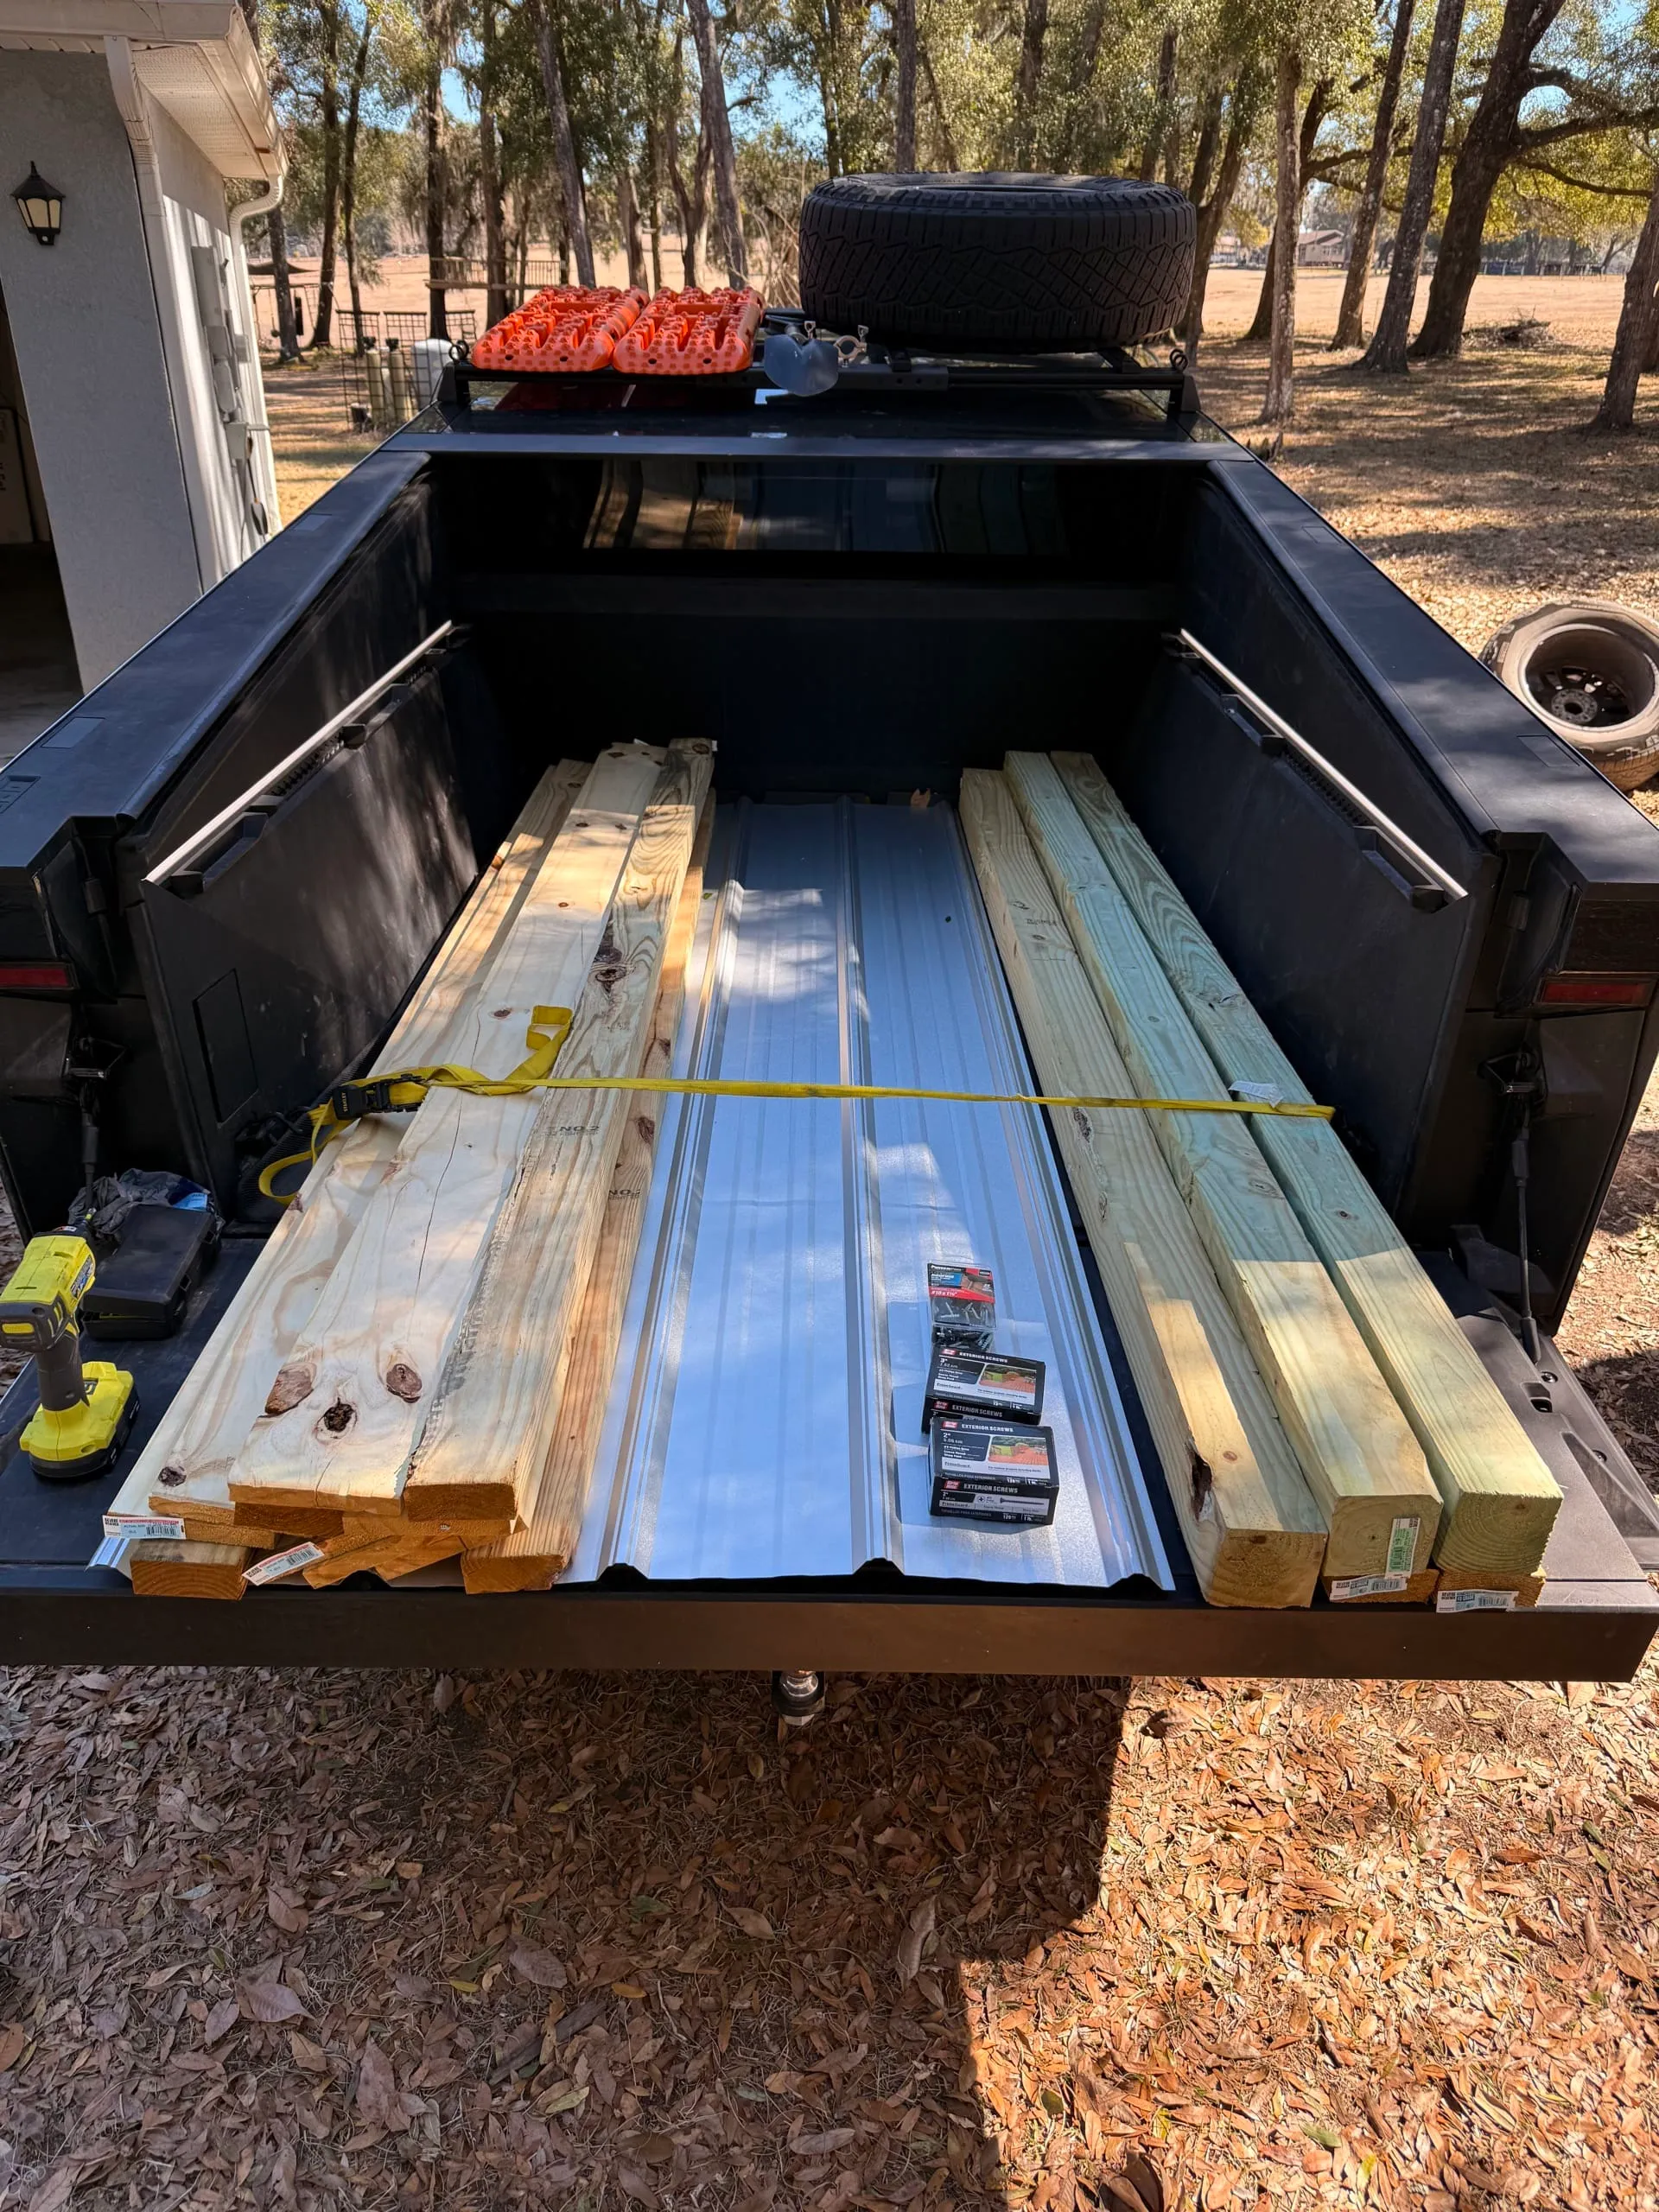
The Materials List
- 1x corrugated metal roofing panel (3 ft x 8 ft)
- 3x treated 4x4 8 ft boards
- 6x treated 2x4 8 ft boards
- 7x treated 1x6 8 ft boards
- Box of 2” exterior screws, 3” exterior screws, and roofing screws
All-in-all this cost under $200. If I did it again, I’d get a fourth 4x4 instead of Frankenstein‑ing the cut 4x4s for the last leg. But, that’s what I get for not questioning AI 😄. If you’re a cheapskate though, and want to save $12 on that last post, it is possible to make it work with 3 8ft posts and it seems to hold up well enough.
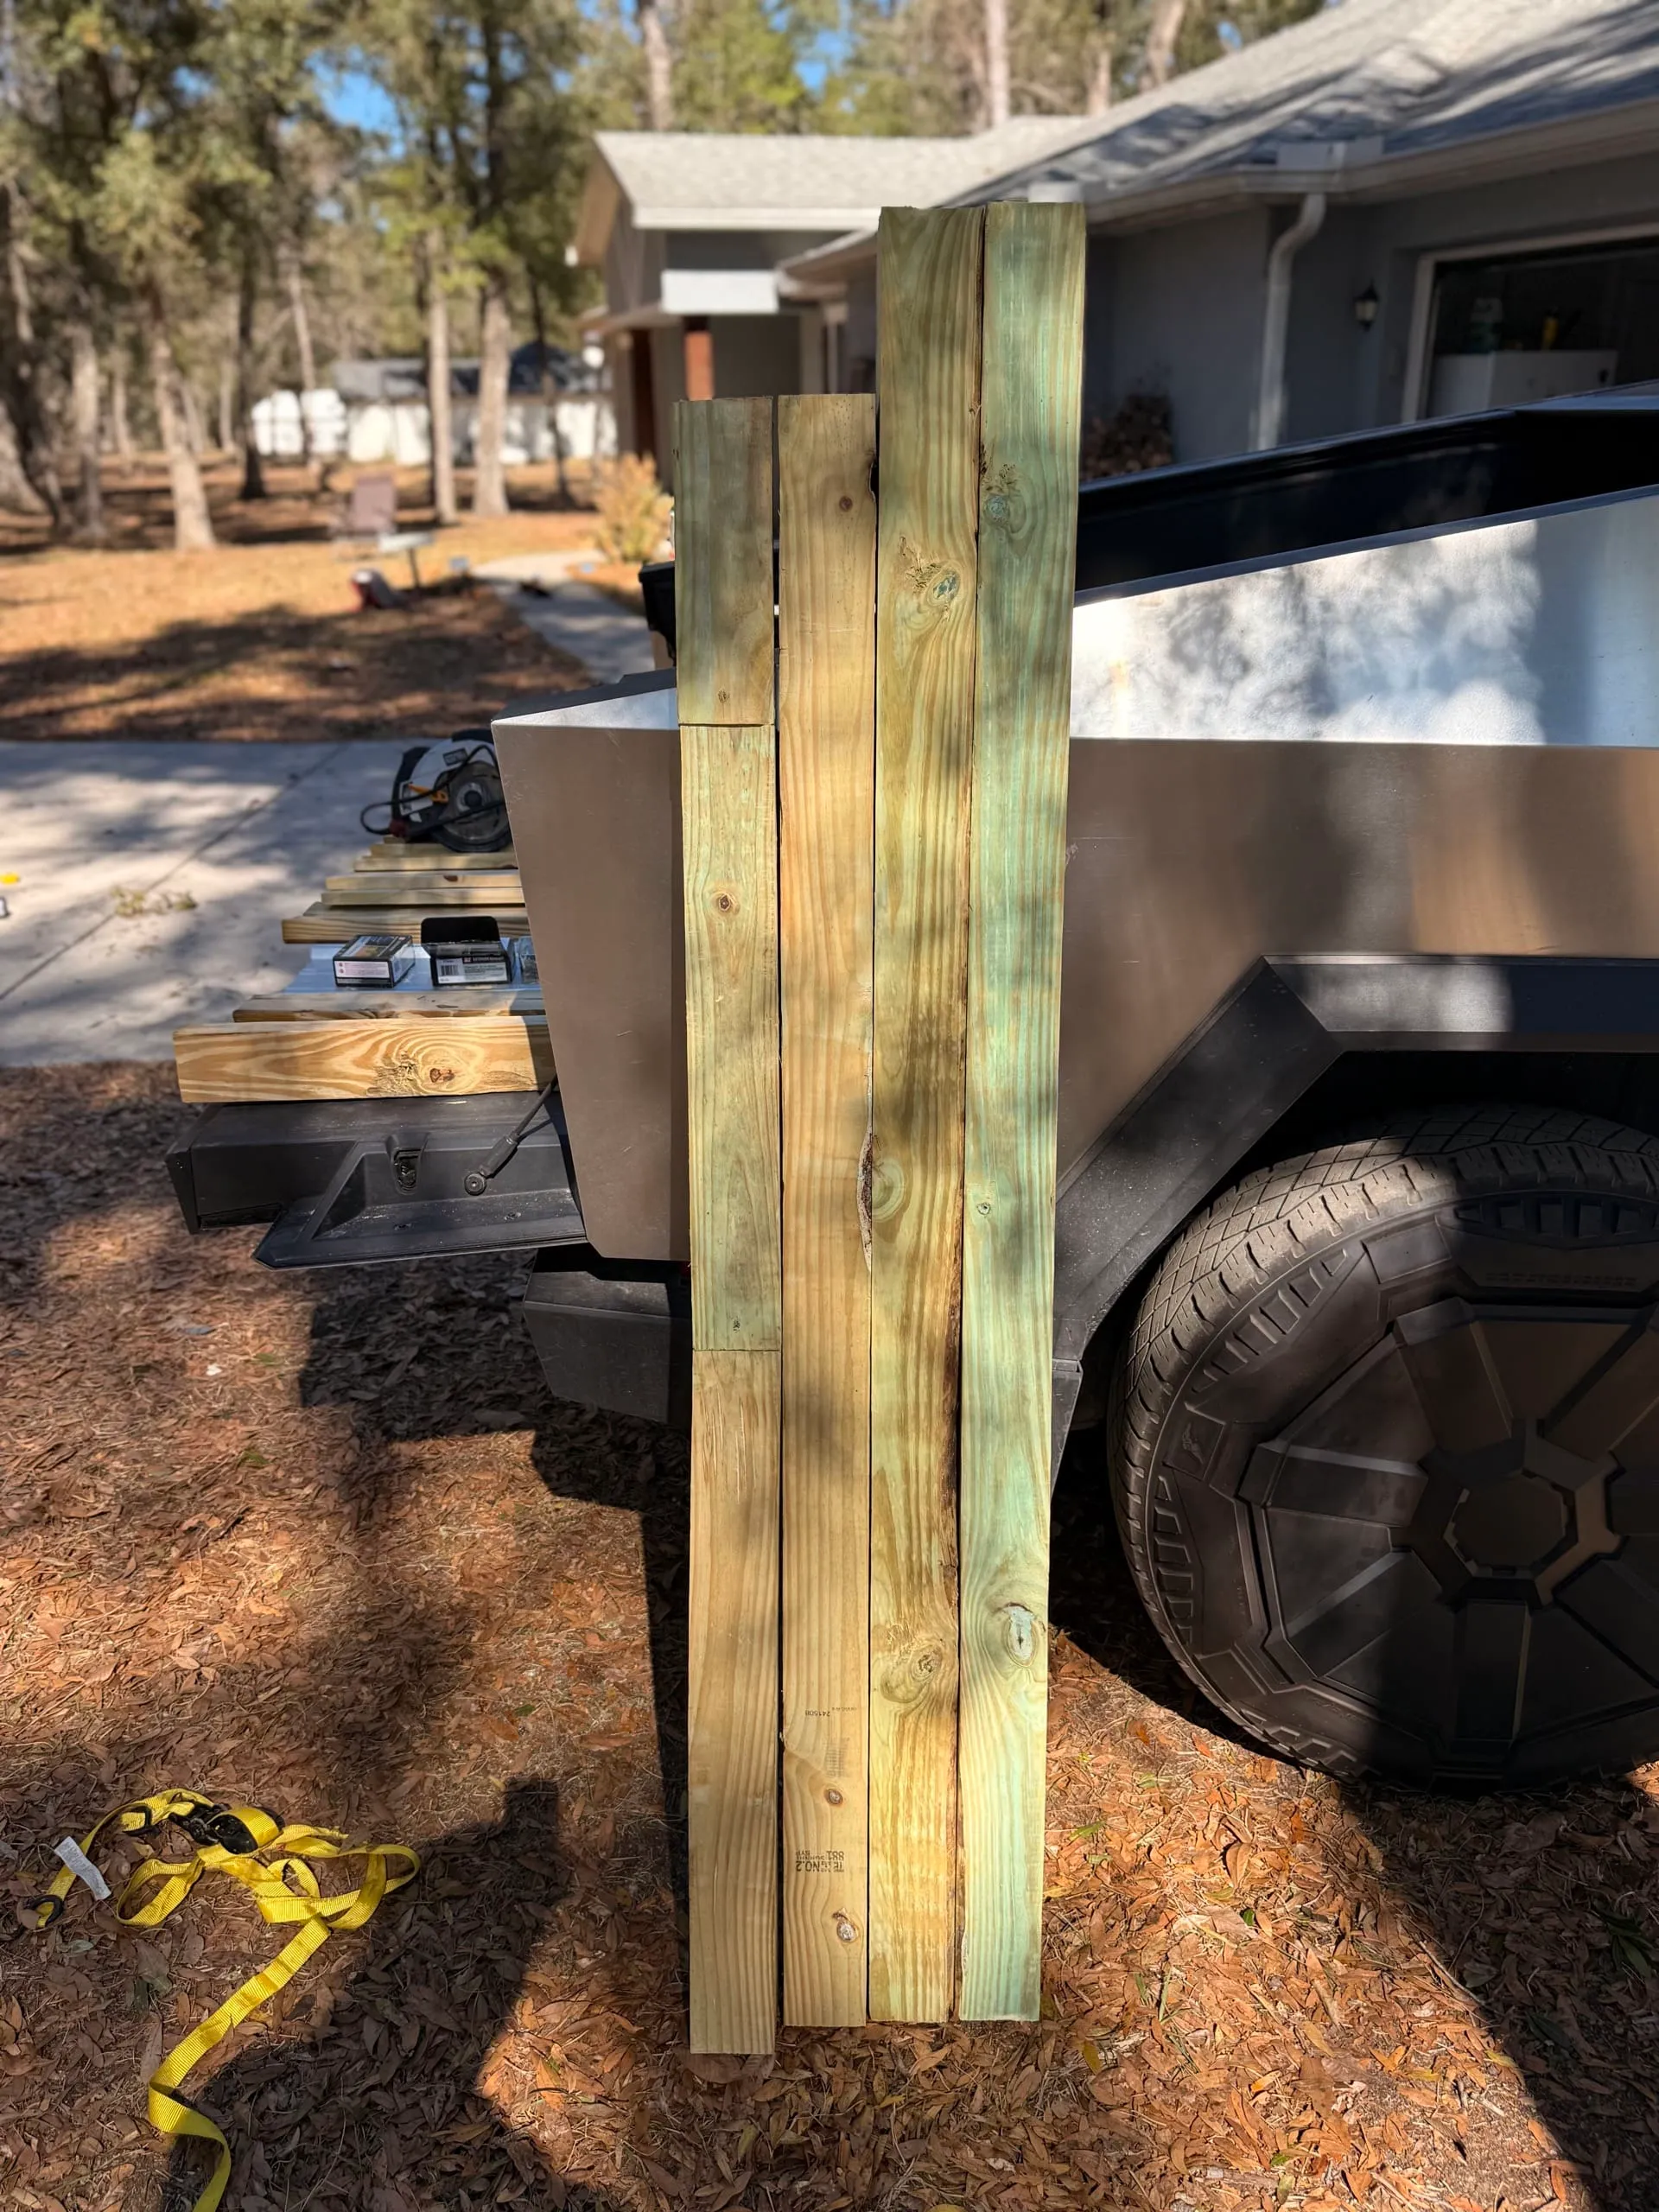
Step 1: Make the cuts
4x4 posts (from three four 8 ft boards)
- Front legs: 2 x 72”
- Rear legs: 2 x 66” (shorter for roof slope)
Roof slope ends up ~6” drop front to back.
2x4 cuts (from six 8 ft boards)
Shelf frames (2 shelves)
- Front/back rails: 4 x 45”
- Side rails: 4 x 27”
Roof structure
- Roof rafters: 3 x 36”
- Front roof header: 1 x 48”
- Rear roof support: 1 x 45”
Side bracing
- 2 x 24”
1x6 cuts (from seven 8 ft boards)
Shelves
- Shelf slats: 12 x 48”
- 6 per shelf, ~1/2” gap
Roof slats (under metal)
- 4 x 48”
These give the metal something solid to screw into.
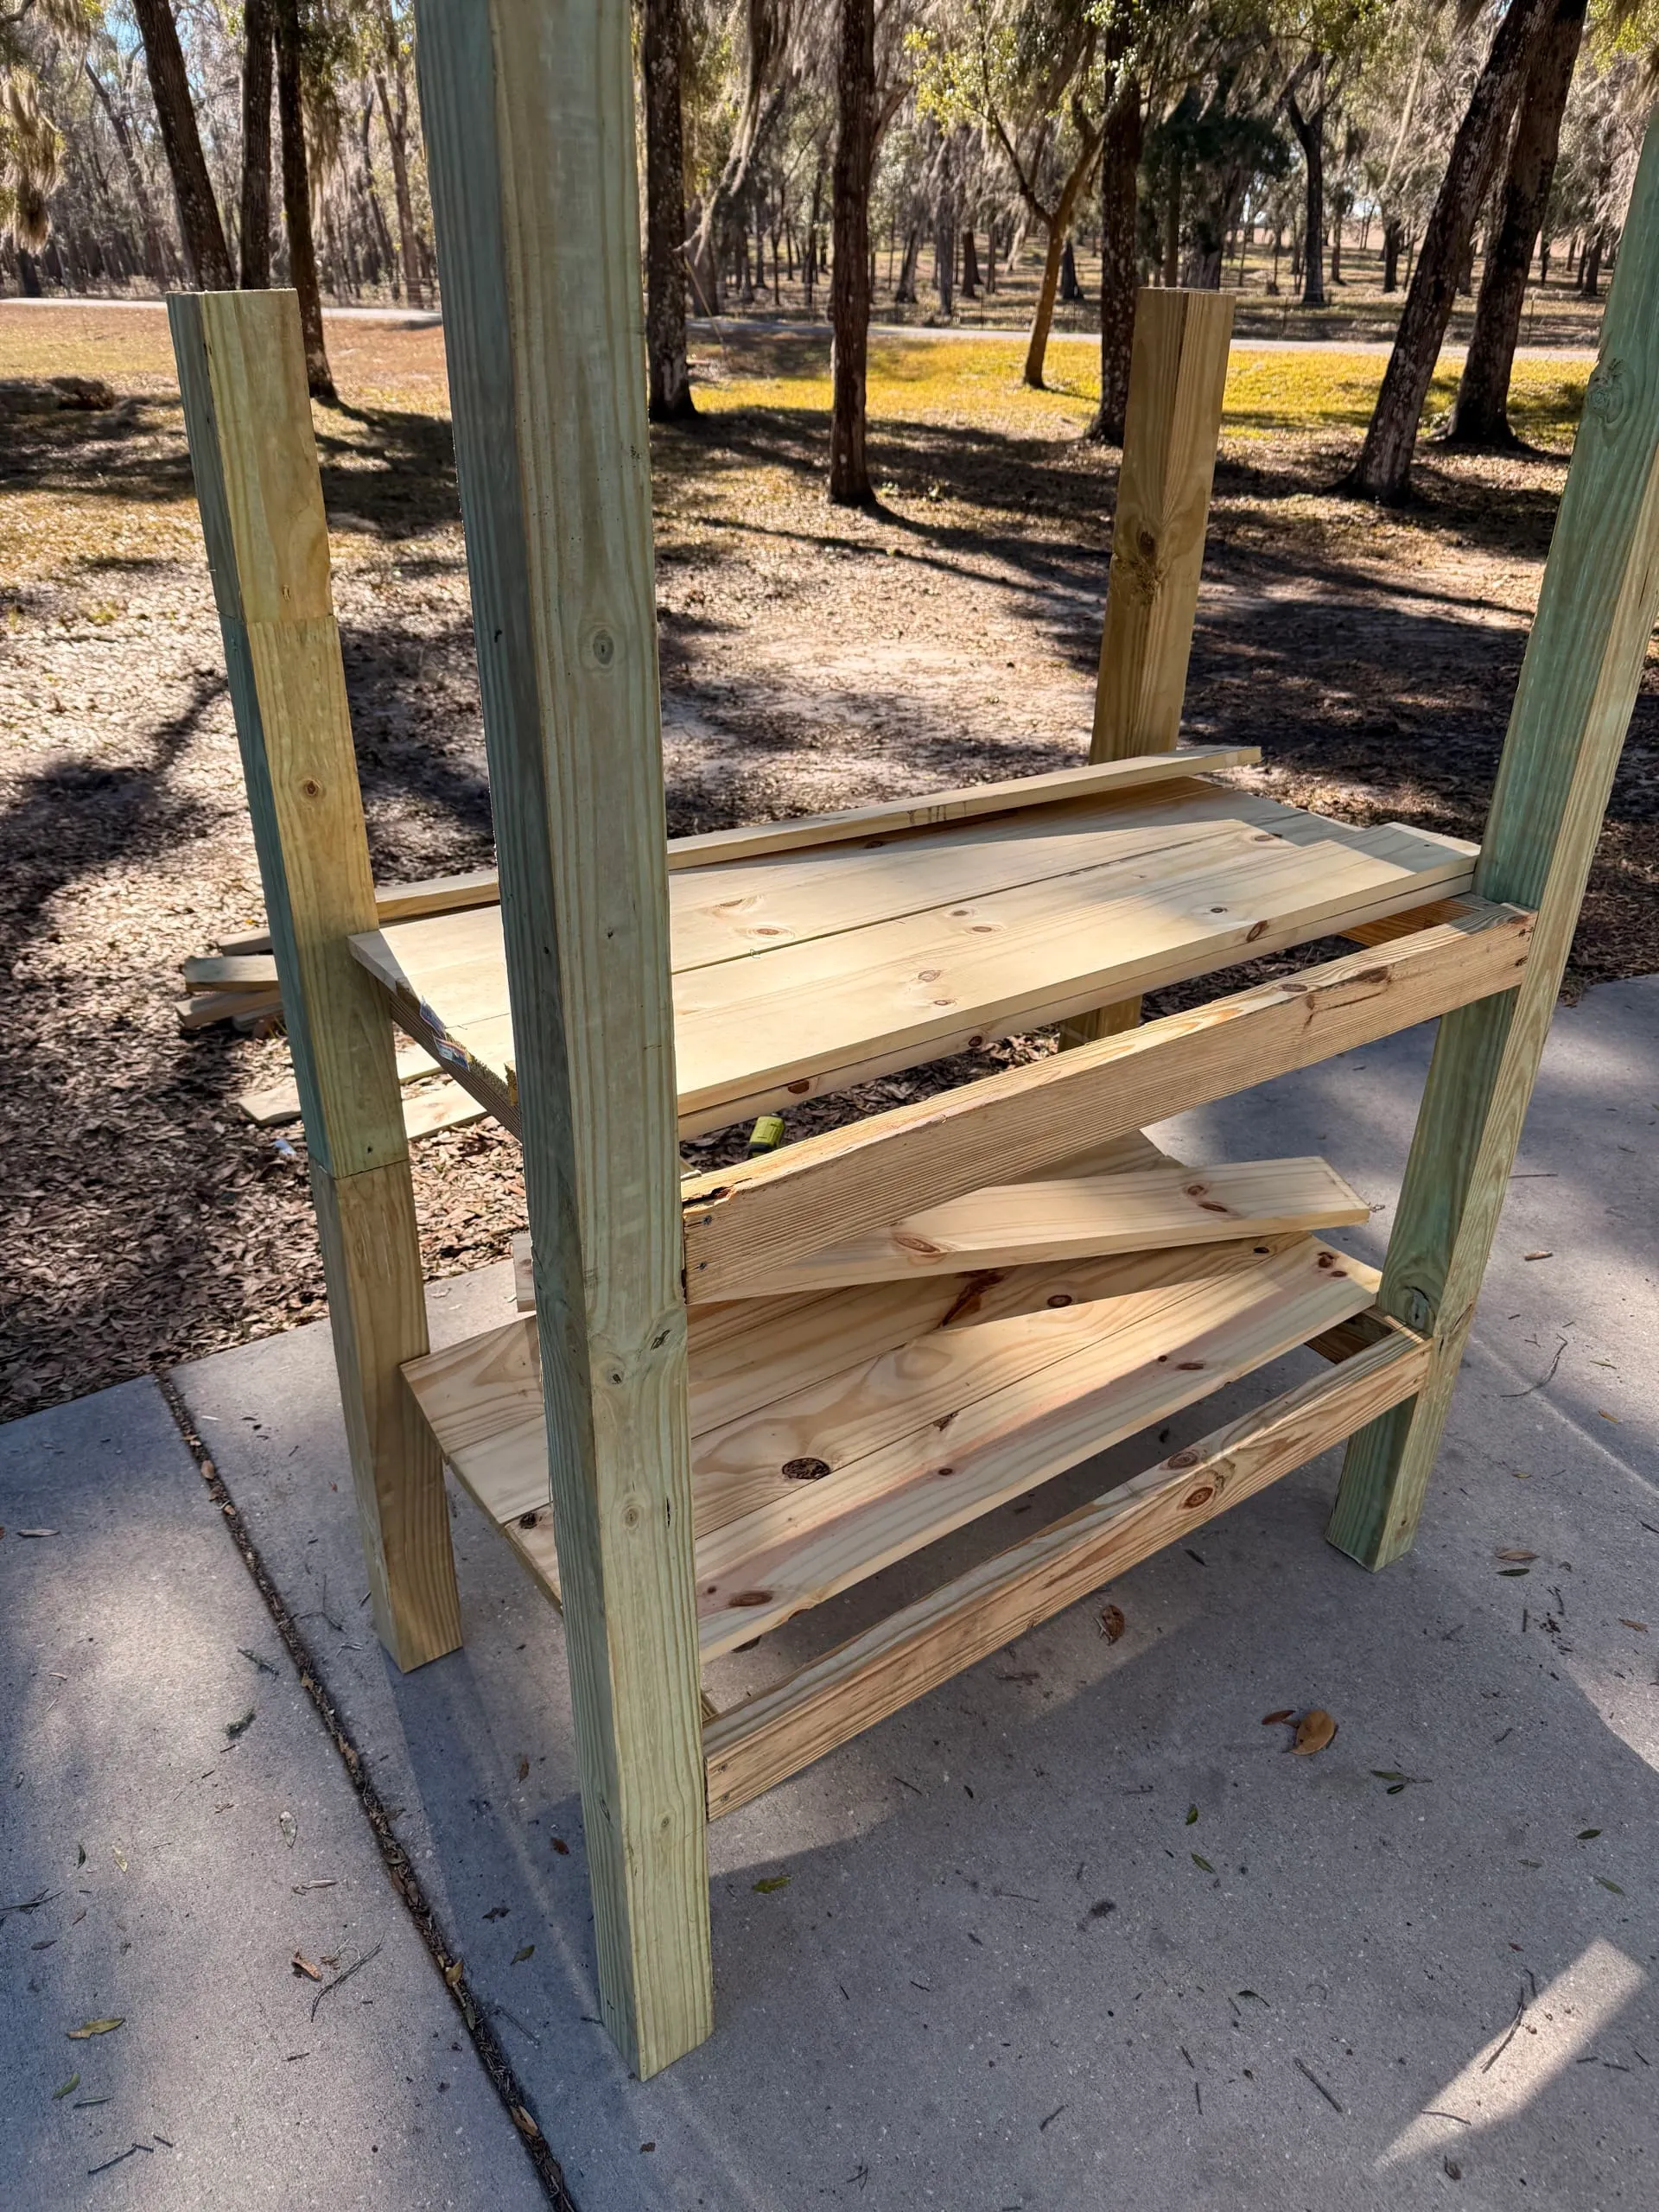
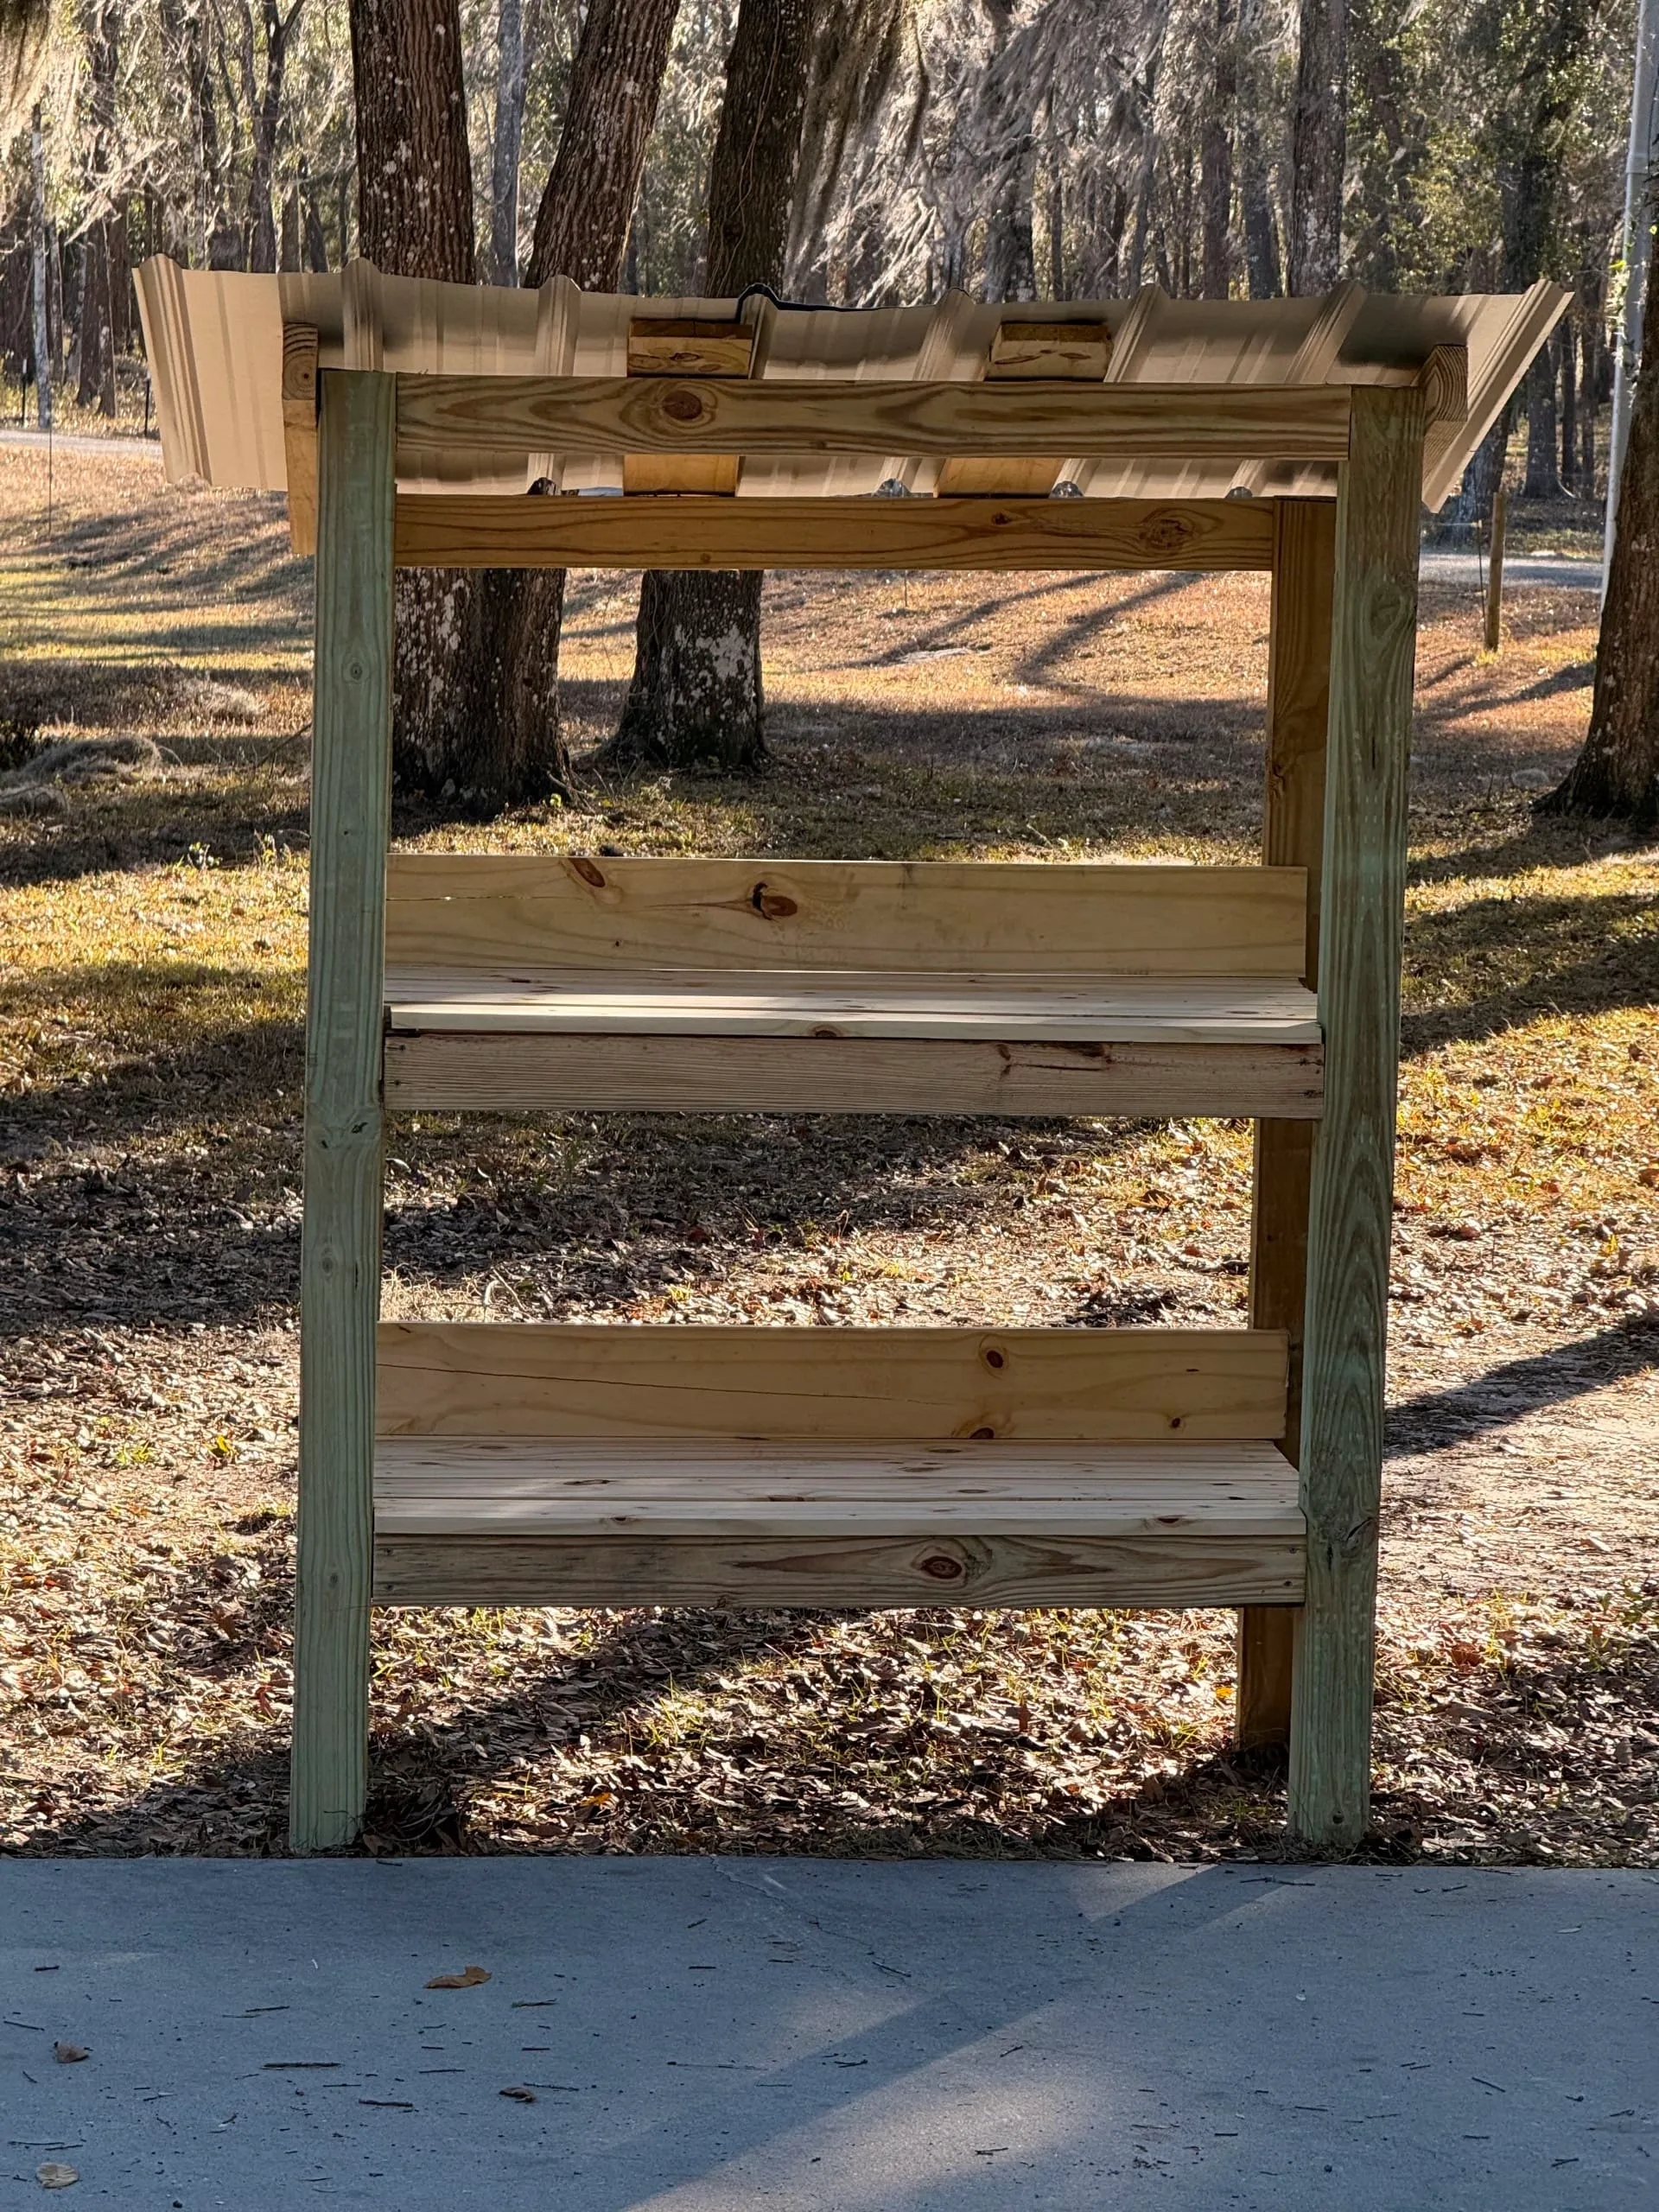
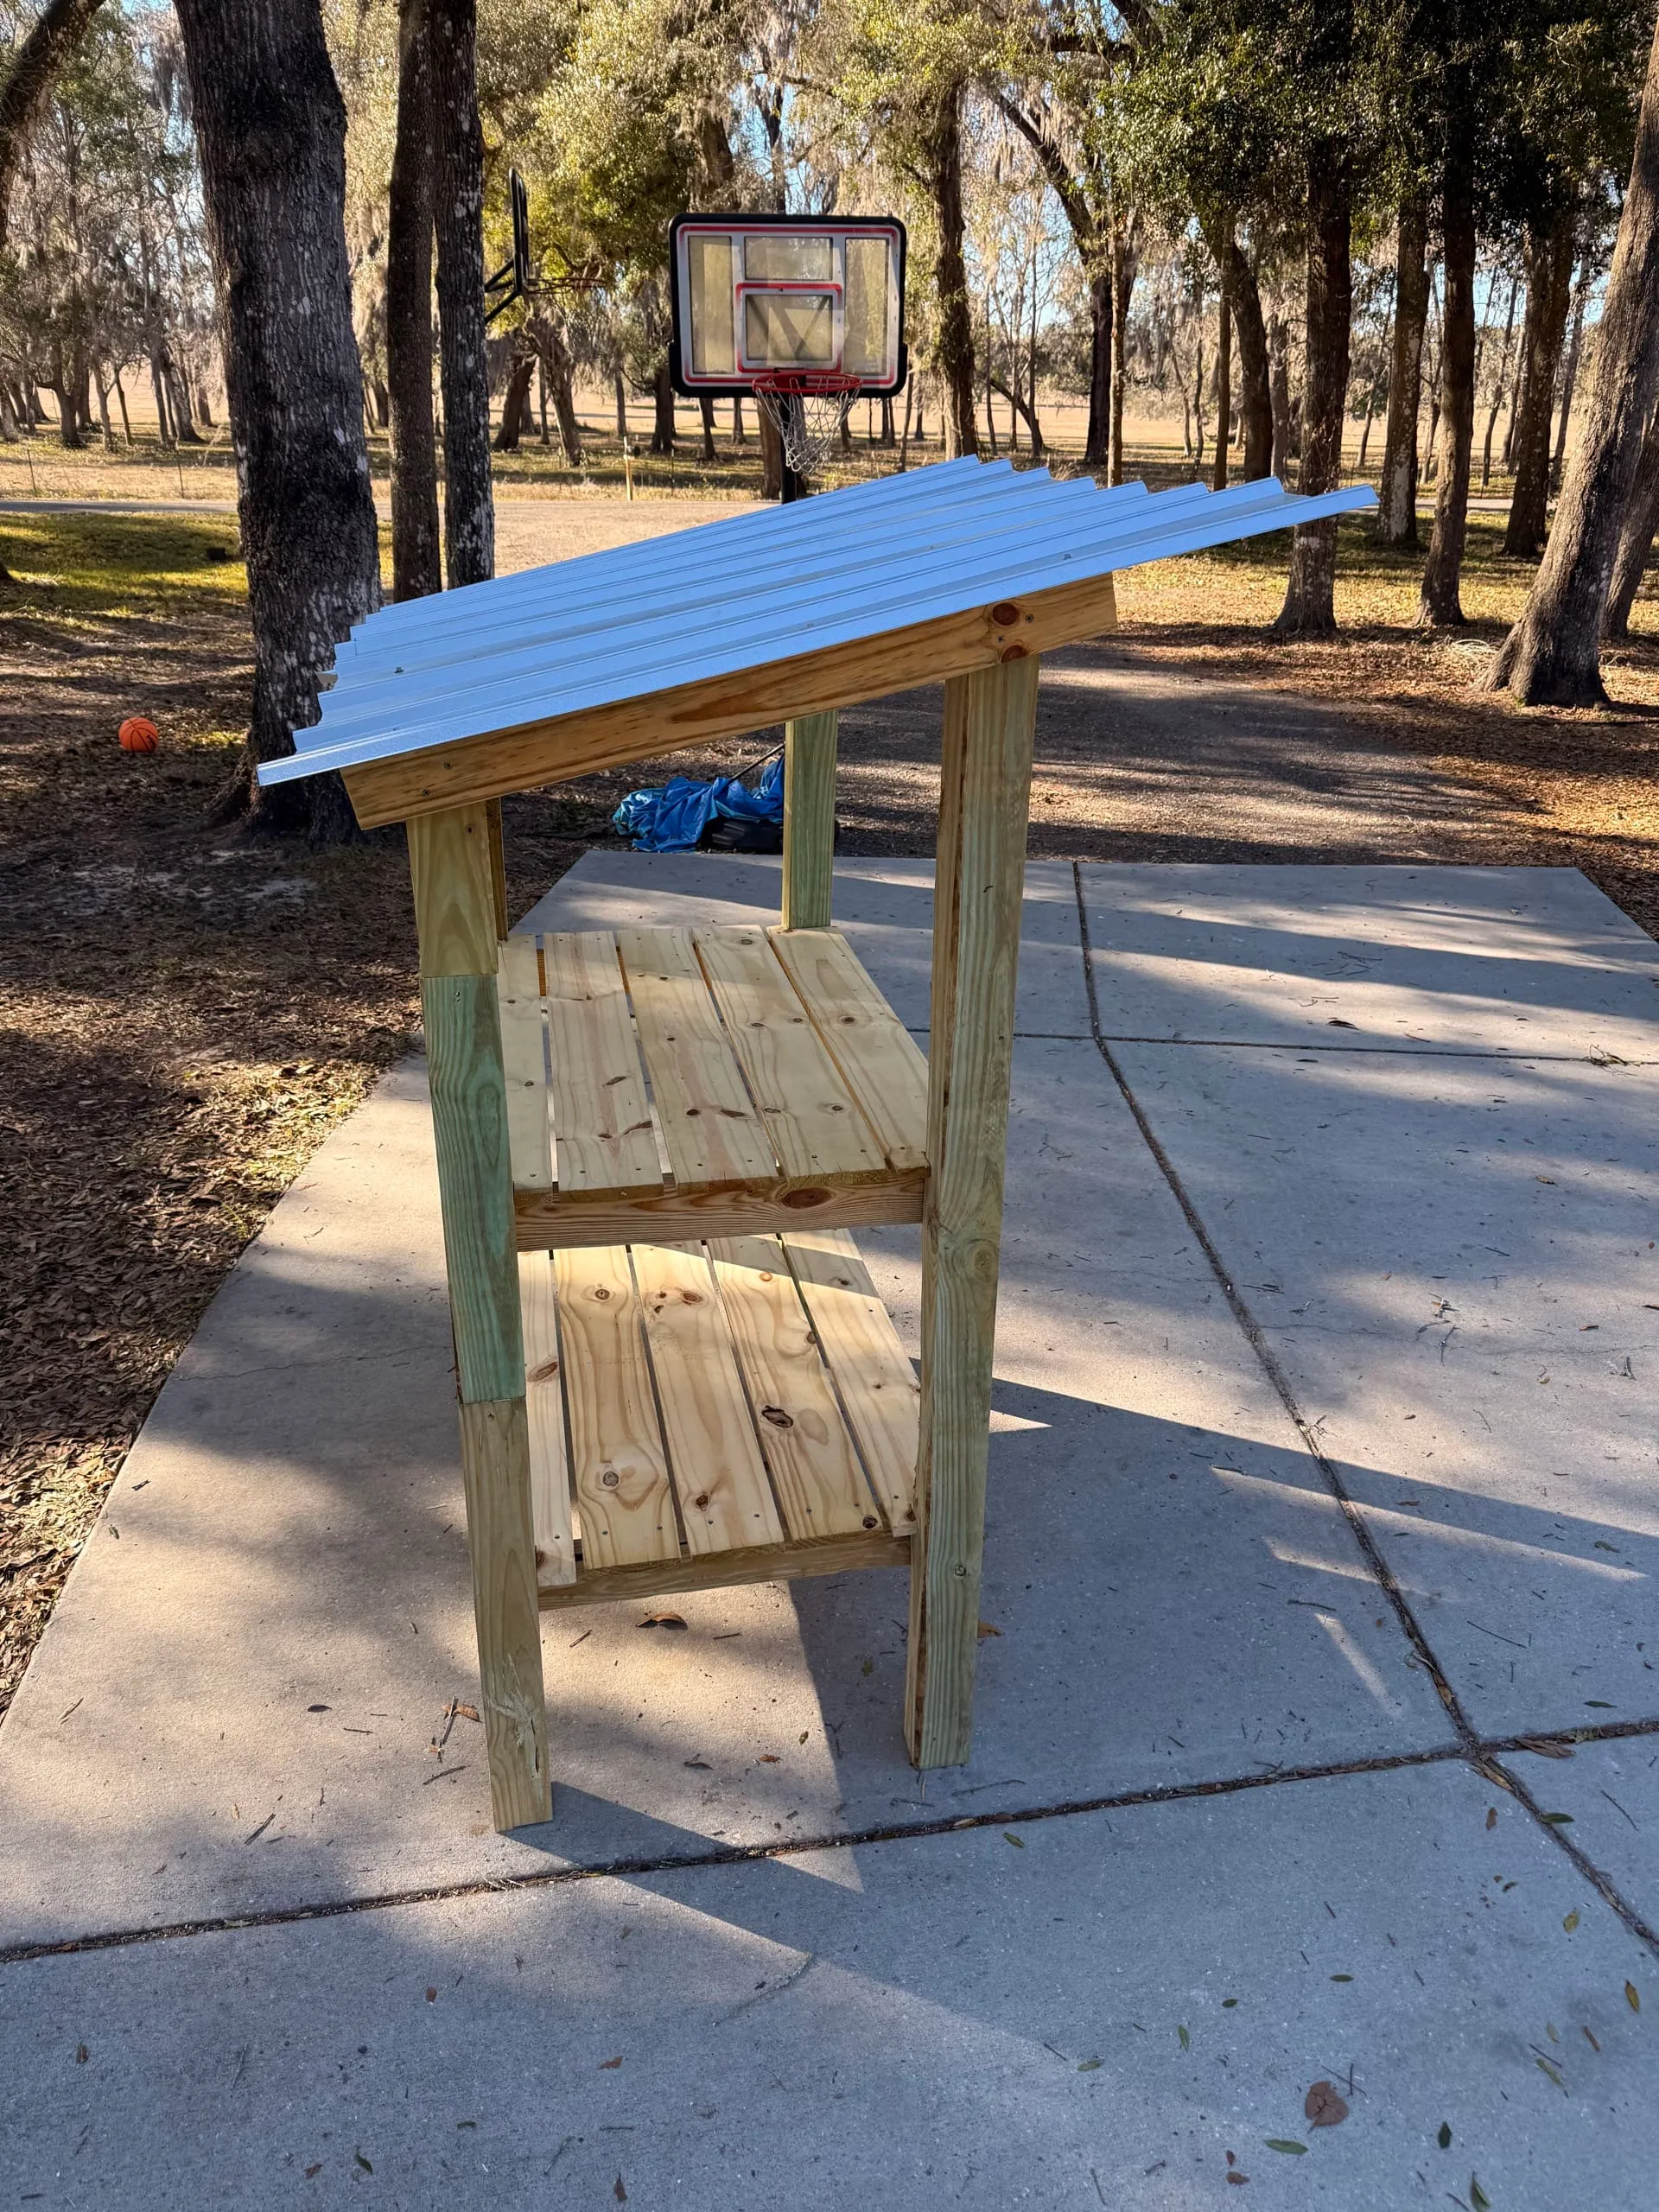
Assemble
- Build shelf frames (45” x 27” rectangles).
- Attach frames to 4x4 posts.
- Bottom shelf: ~12–14” off the ground.
- Top shelf: ~30–32” off the ground.
- Install shelf slats.
- Add side braces (optional).
- Install roof rafters.
- Add roof slats.
- Cut and screw on the metal roofing panel.
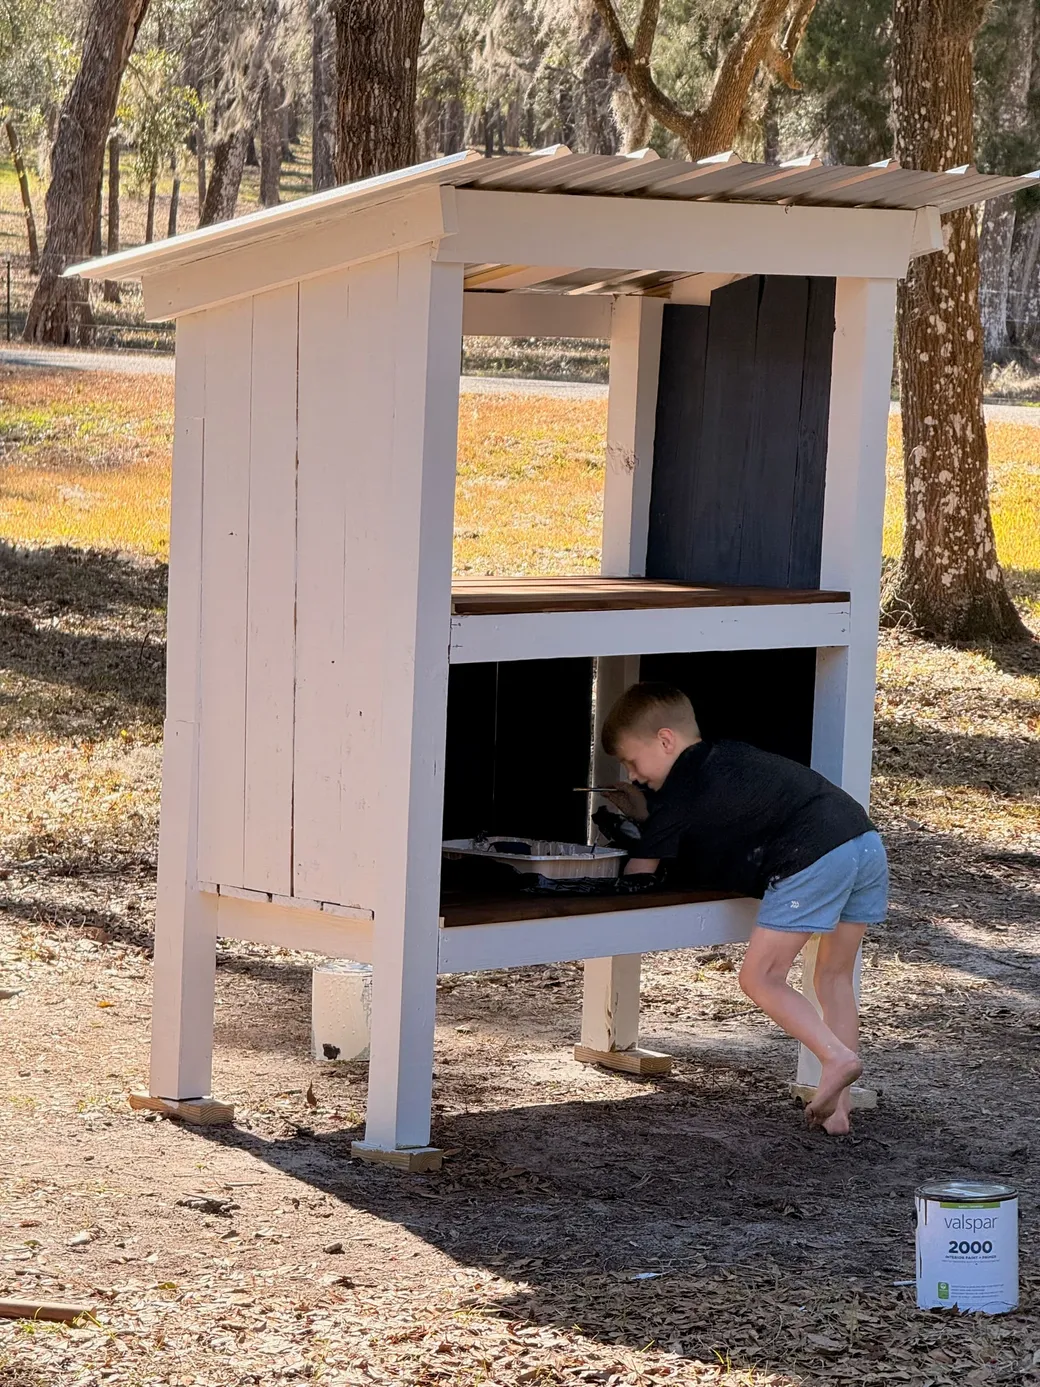
Final Result
Overall I’m happy with how it came out. It might have looked better if I wrapped the shelves around the posts instead of keeping the posts on the outside, and I definitely should have grabbed a fourth post. A little paint (and maybe some siding on both sides) would make it look amazing, but this is where it stands for now.
2/7/2026 UPDATE: Paint and Siding
Decided we needed a little more polish before we put it out by the road and painted the whole thing white with some extra primer we had sitting in the garage. We also had some leftover wood stain which we used on the shelving which I think turned out great.

The next day I went back to lowes and got 5 more 1x6x10 treated boards to add siding to both sides and the lower rear. We wanted to keep the top open so our kids could use it as a booth of sorts for when they want to be out there selling lemonade or what have you.
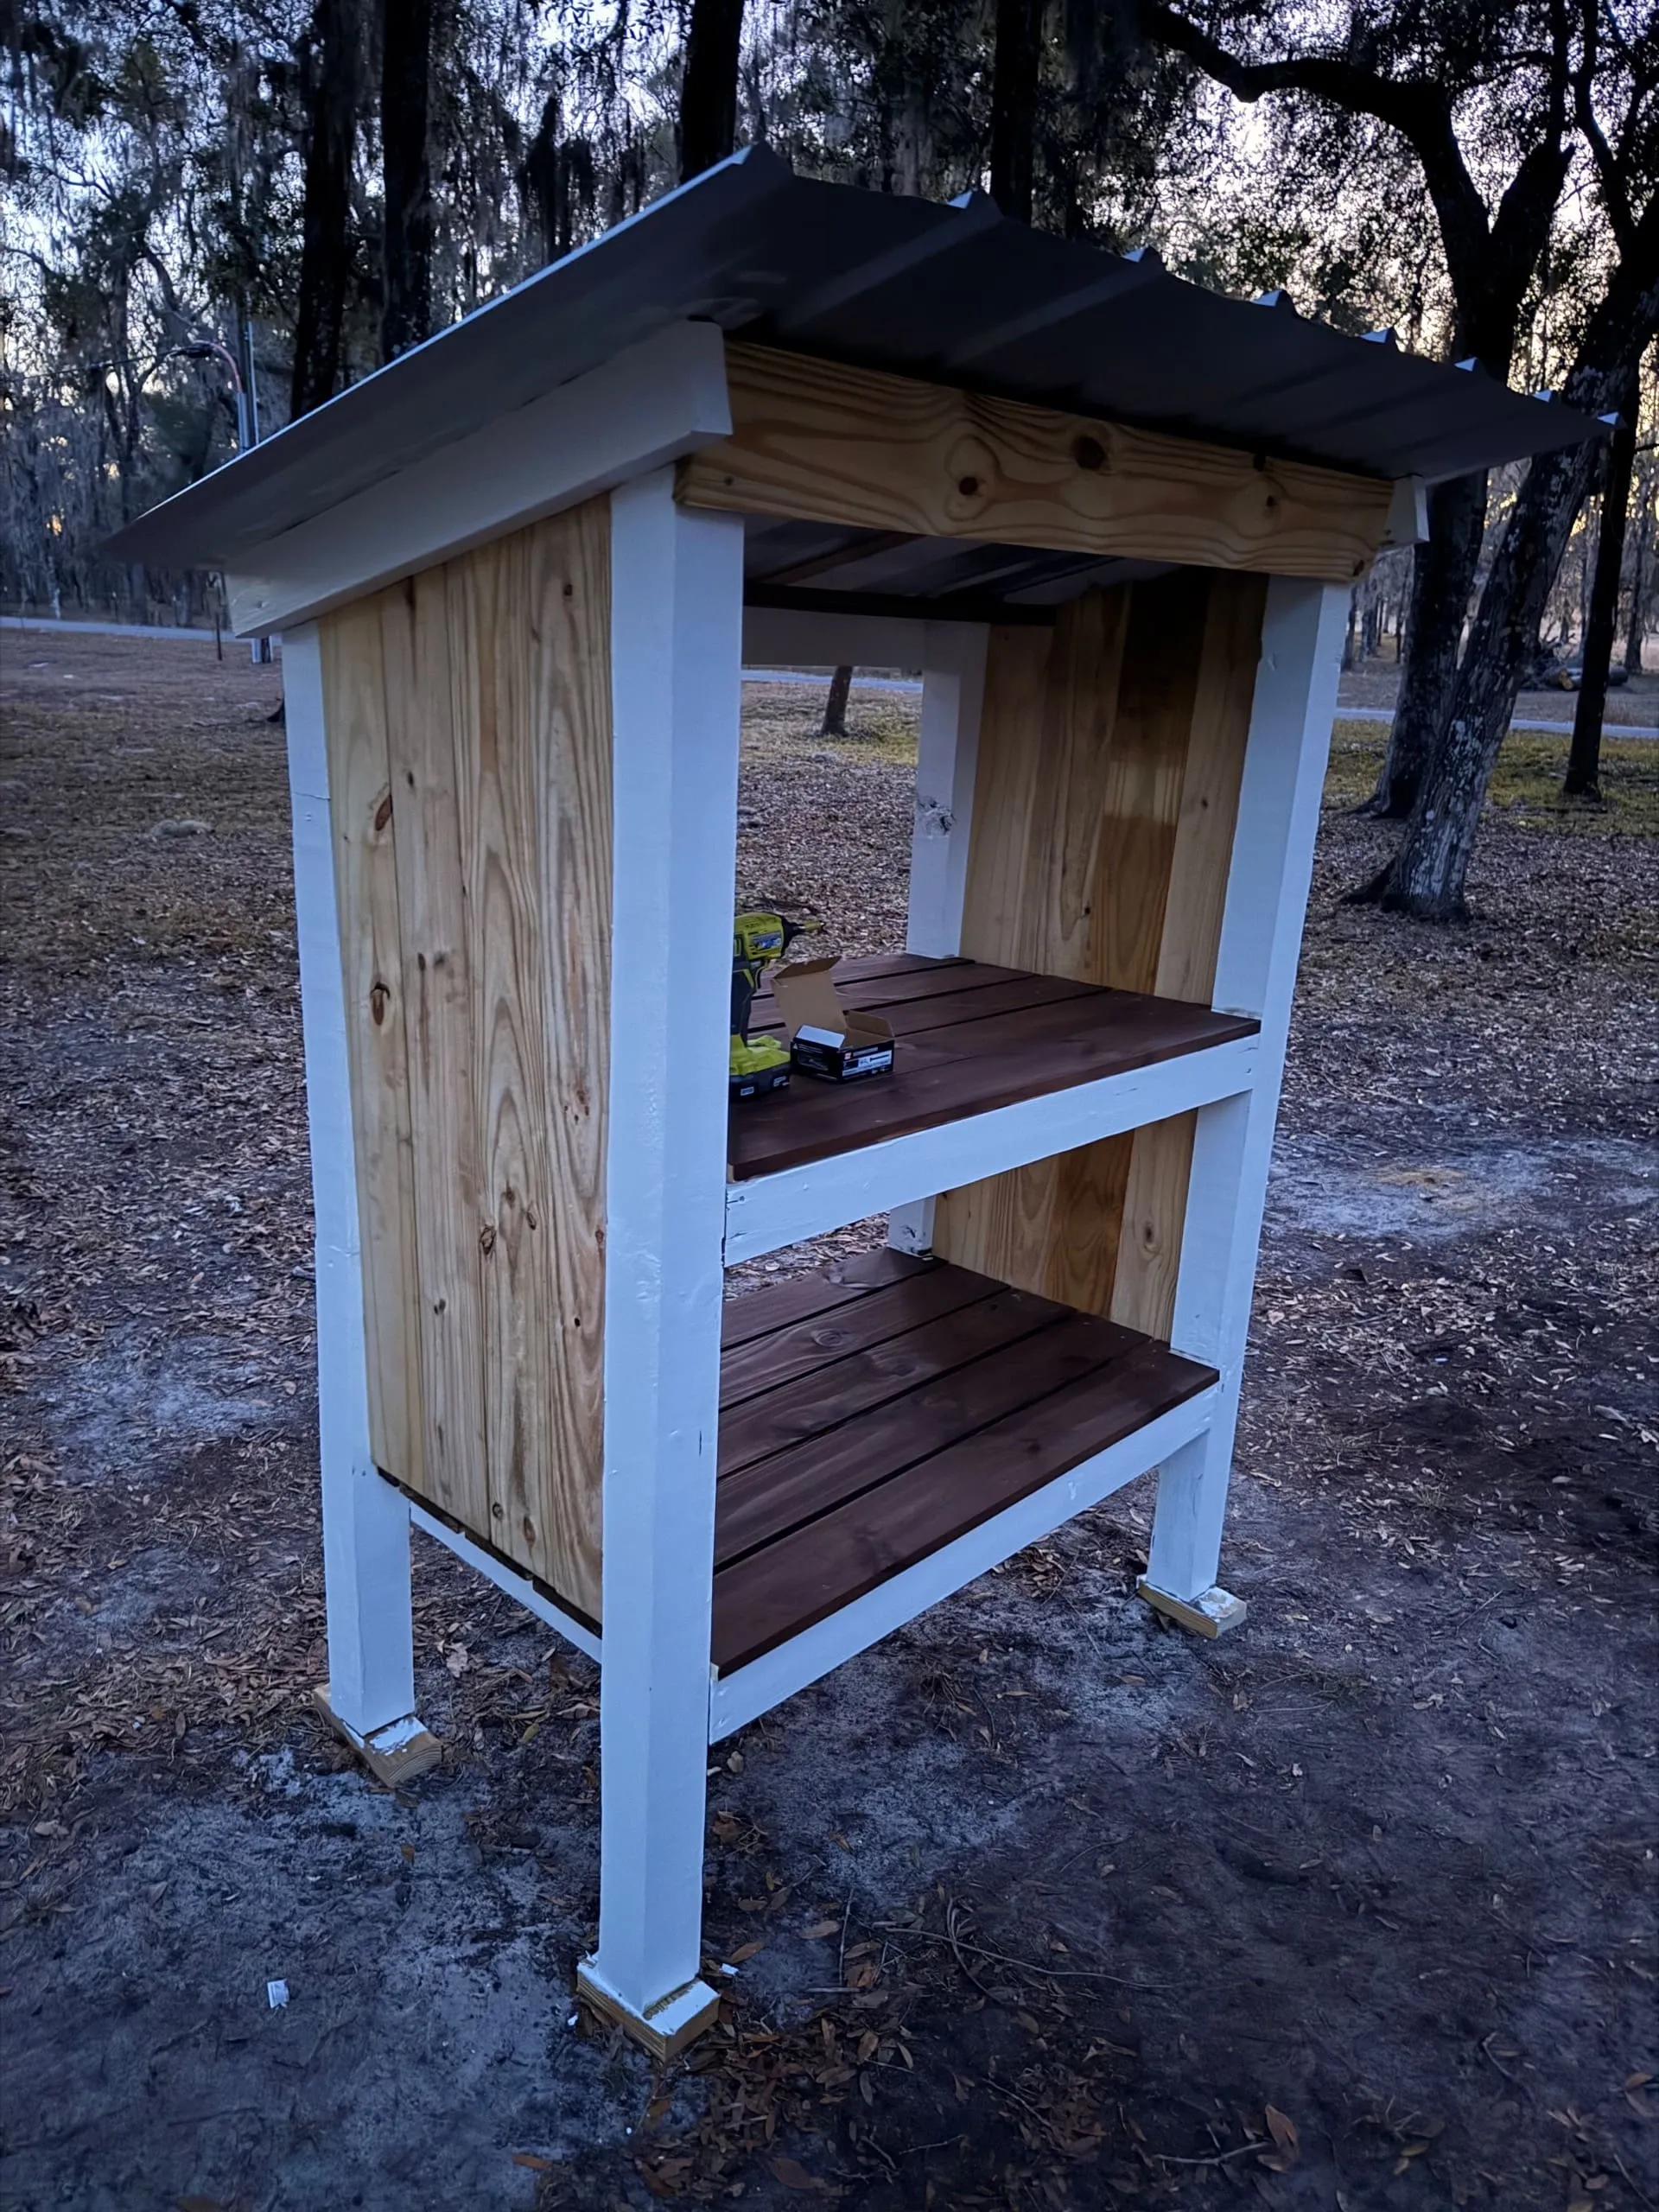
Which means we now have more painting to be done… We had some leftover blue paint in the garage so we decided to use that for the inside walls to give it a little color.

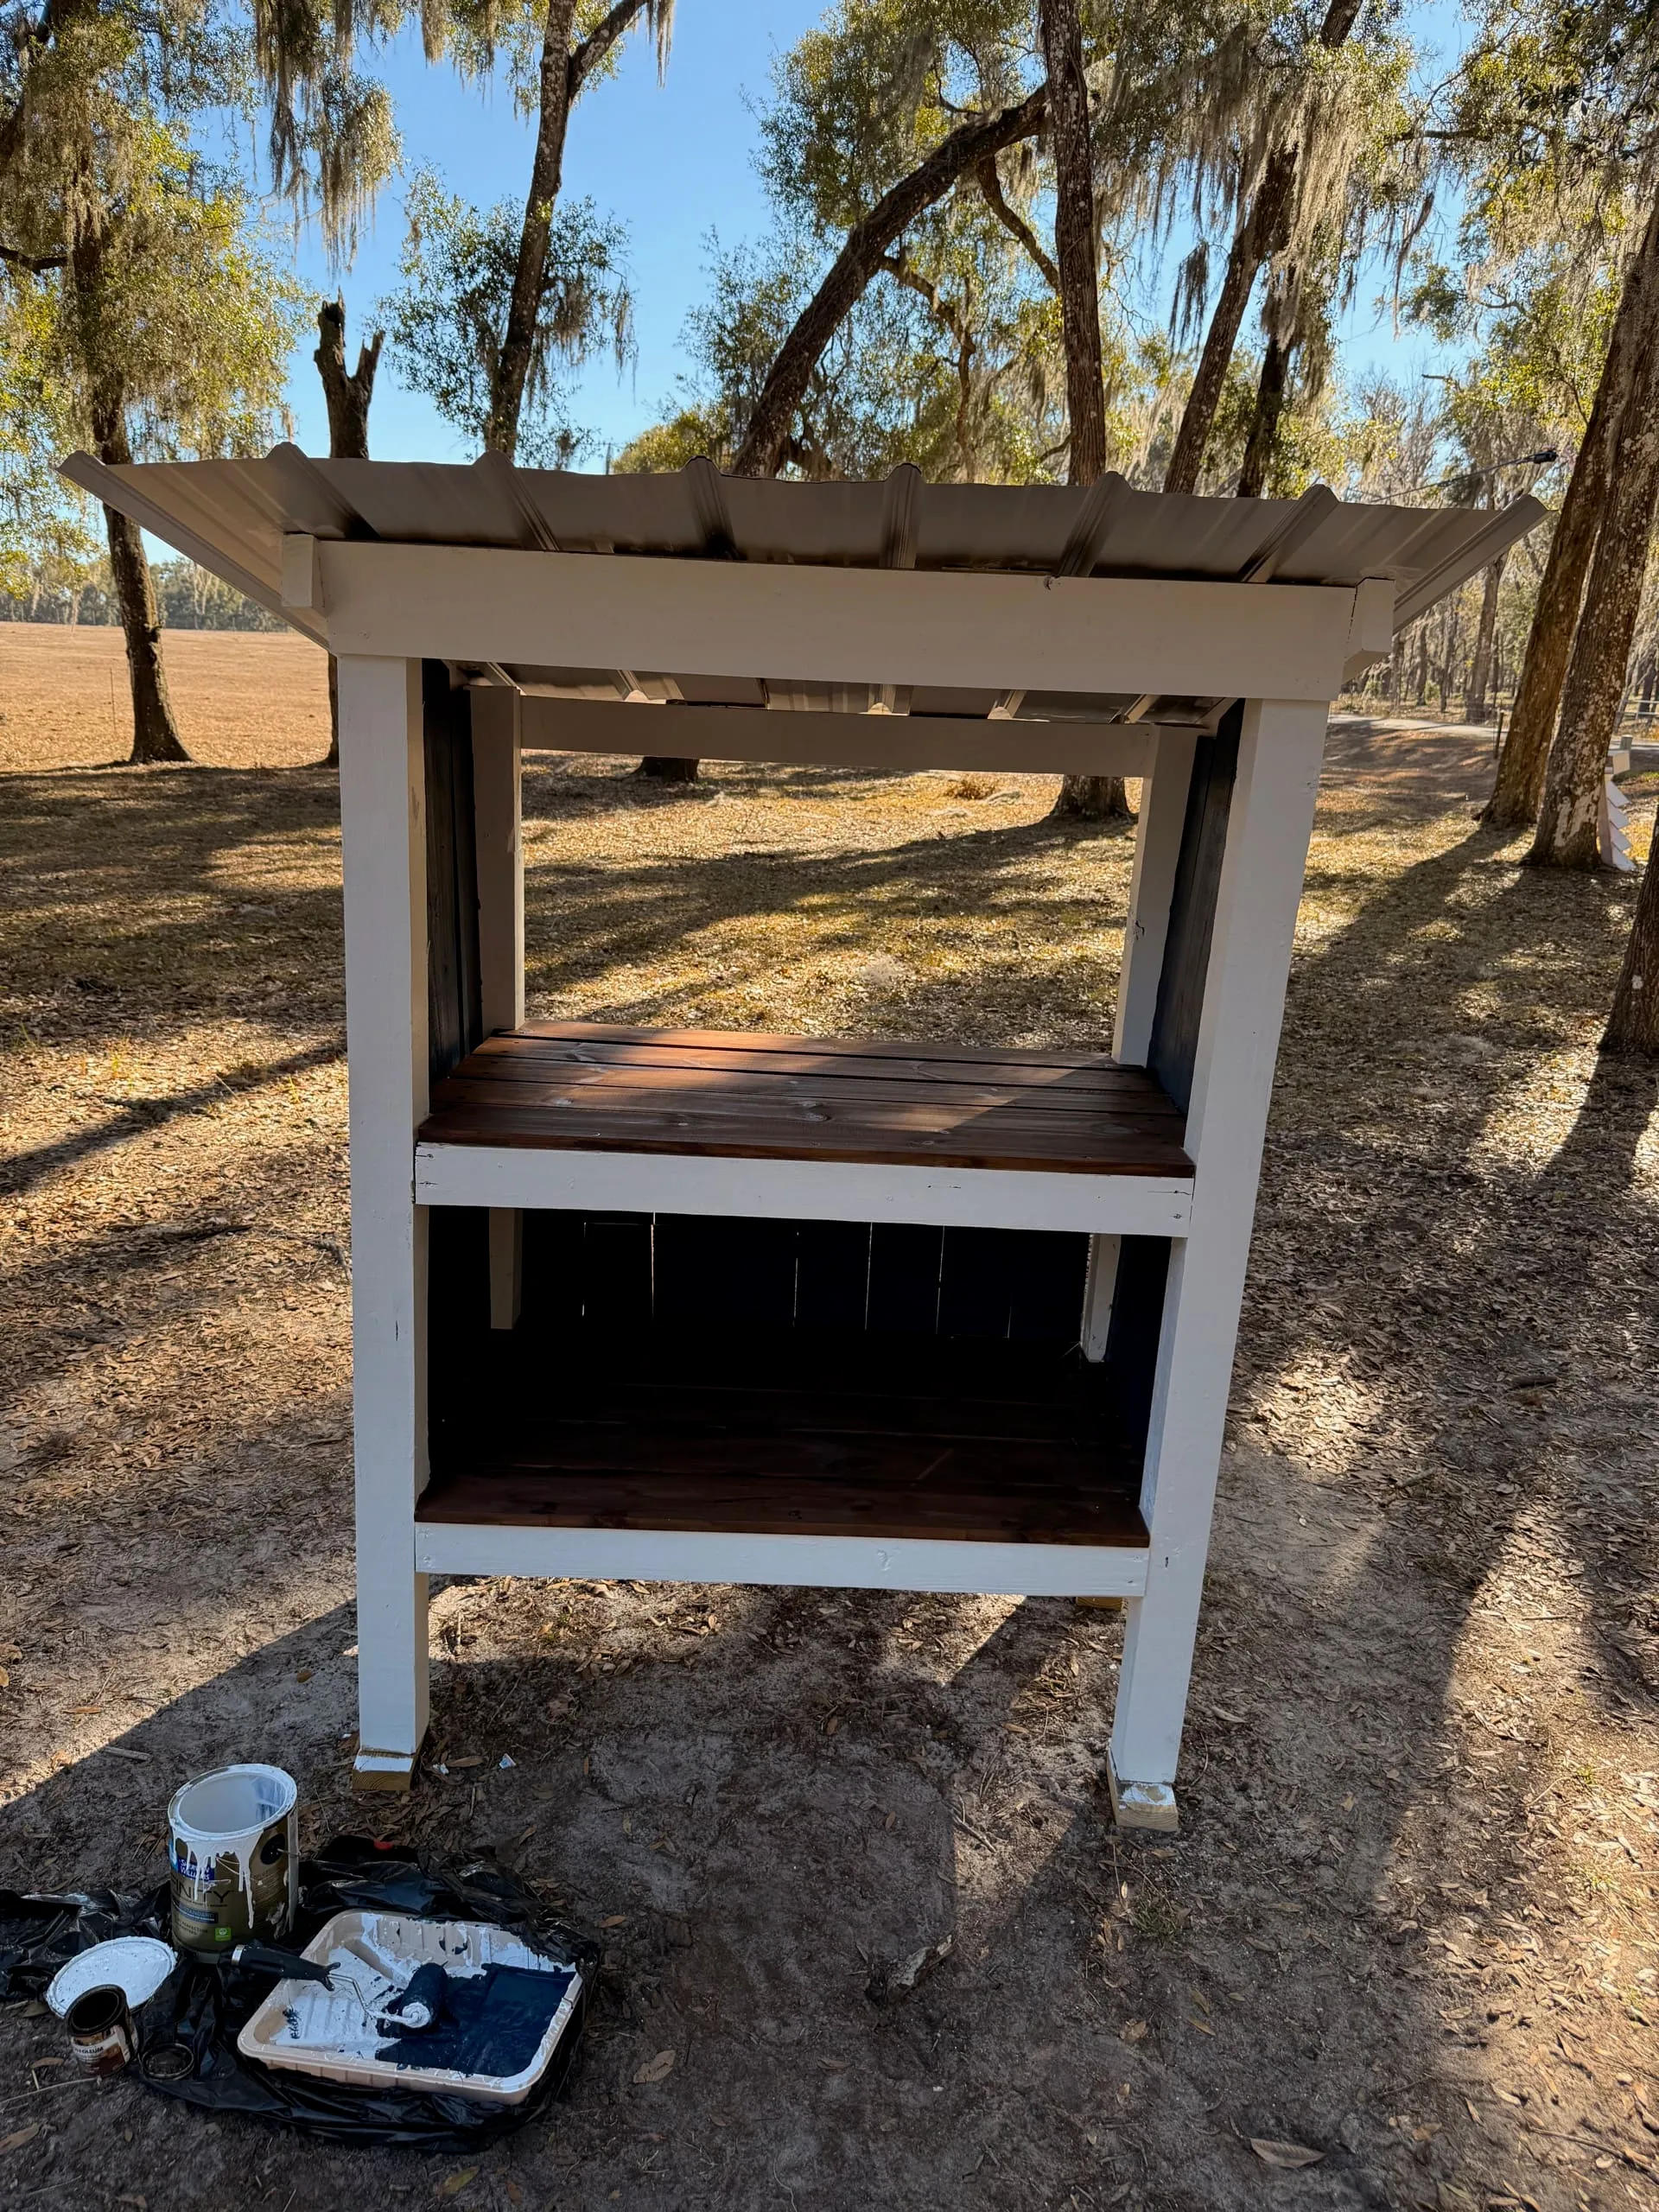
Because we were able to re-use some of the existing paint and stain we were still able to keep this under $250 and spent about 6 or 7 total hours of work. Now we just need to move this hundred plus pound beast next to the road…